
This article is more than 5 years old.
We’re almost home-honest! This stuff takes time folks- I mean it is important, one of a kind, historical material and must be treated like your pet bunny rabbit when you were 6. The first order of business today was to sew the headbands. To do this, two colors of silk thread are sewn around a core of twine. This stabilizes the the text block to which it is sewn, and forms a very attractive counterpoint to the text.
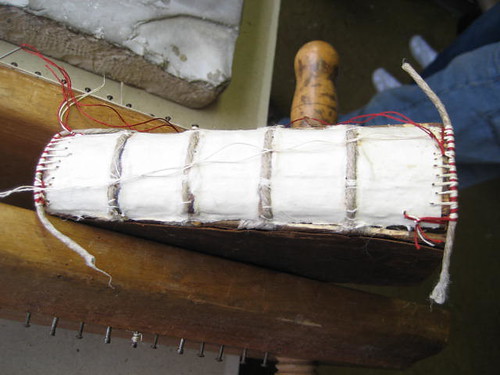
When the sewing is completed, the ends of the cord are trimmed and the headband is glued down. A piece of Japanese paper covers the sewing.

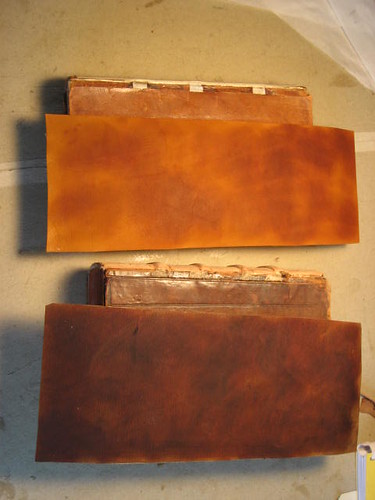
I cut pieces of leather to match the tone and the size of each book it will be used to repair. Using leather dye and cotton balls, the leather is dyed to match the existing color of the book boards and allowed to dry.
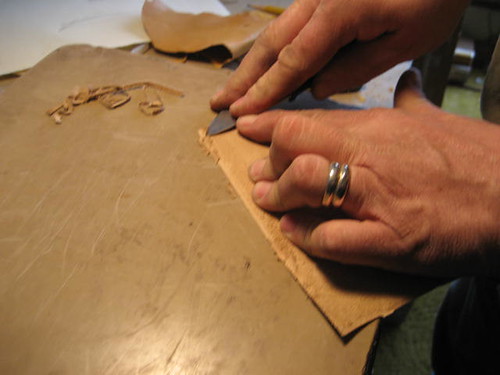
Using a very sharp “skiving knife”-the edges of the pieces of leather are pared down very thin. This is hard, very hard-no amount of holding you mouth in a certain way will help. Practice, practice, practice!
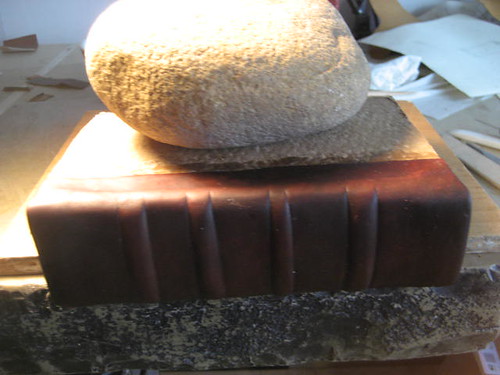
The leather spine piece is then put on the book and reinforced by string, which reinforces the raised bands.
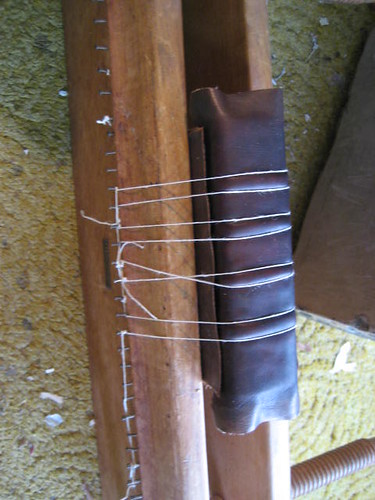
After a half hour, the ends are turned in and the book is left to dry under a weight.
4 Comments on ‘Preparing the Leather – Day 4’
Great work! Love to see this process step by step!! Thank you!
Um, I hope you didn’t put your pet bunny rabbit under a giant rock…
I had no idea that there is this many steps to repairing a book! The whole process is fascinating!
This was so interesting to see, Craig! Thanks for showing.