This article is more than 5 years old.
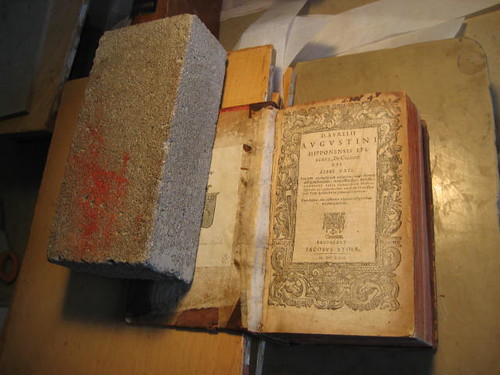
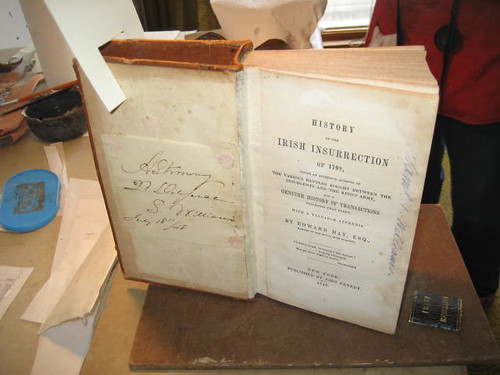
I was able to complete two re-backs from start to finish this week. The two leather spines had dried over night. On the final morning, I still needed to paste down the inside joints or hinge of the books. I had lifted the paper a day earlier. so I tore strips of Japanese paper which I glued underneath the paste down on the covers. I overlapped this paper onto the text block. When both joints were set, we cut a piece of card with a notch in it and used this to hold the boards open while the joints dried.
When both joints were repaired with Japanese paper(Okawara), a piece of card held the boards open to dry.
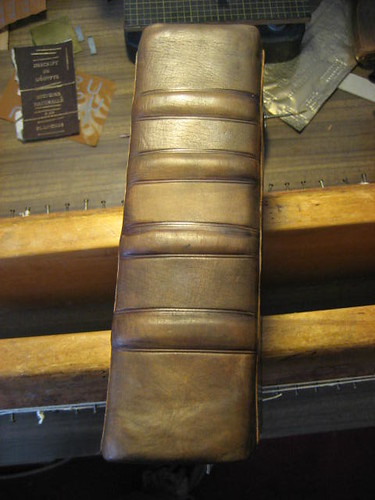
A finishing touch was to tool the spine. A heated metal tool is rocked across the spine to incise a “blind stamped” line which makes the spine lok more finished.
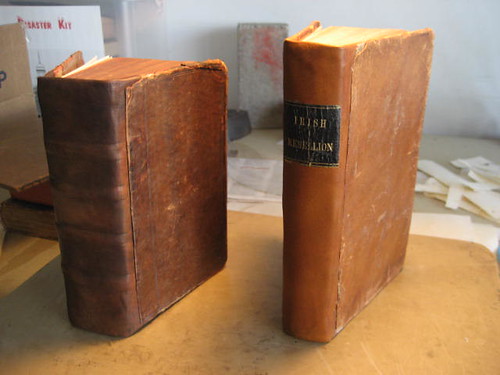
My books are now done! It feels really good to have slogged through all these steps and have a good final result that will last for years to come.


2 Comments on ‘Leather Bookbinding Finale’
Wow, we journeyed through these books with you. Well done!
Hey Craig, it was good having you in class this week. Your books turned out very well, and I’m sure you’ll be putting what you learned to good use.
Hope you had an uneventful drive home. Come back when you can.